How to: Succeed in an AV Digitization Project Without Really Trying
September 10, 2019
How To: Succeed In An AV Digitization Project Without Really Trying1
So! You read my last blog post and are wondering, “Awesome! Making that inventory was soooo fun! What should I do next?” I’m thinking we could use a bird’s eye view of the entire process from start to finish so we know what we’re in for. In this blog post, I will do just that, taking a step back from the details and focusing on the overarching plan. I’ll go into more detail on some of the steps in future blog posts. Cause who doesn’t want to read more blog posts?2
Step 1: Inventory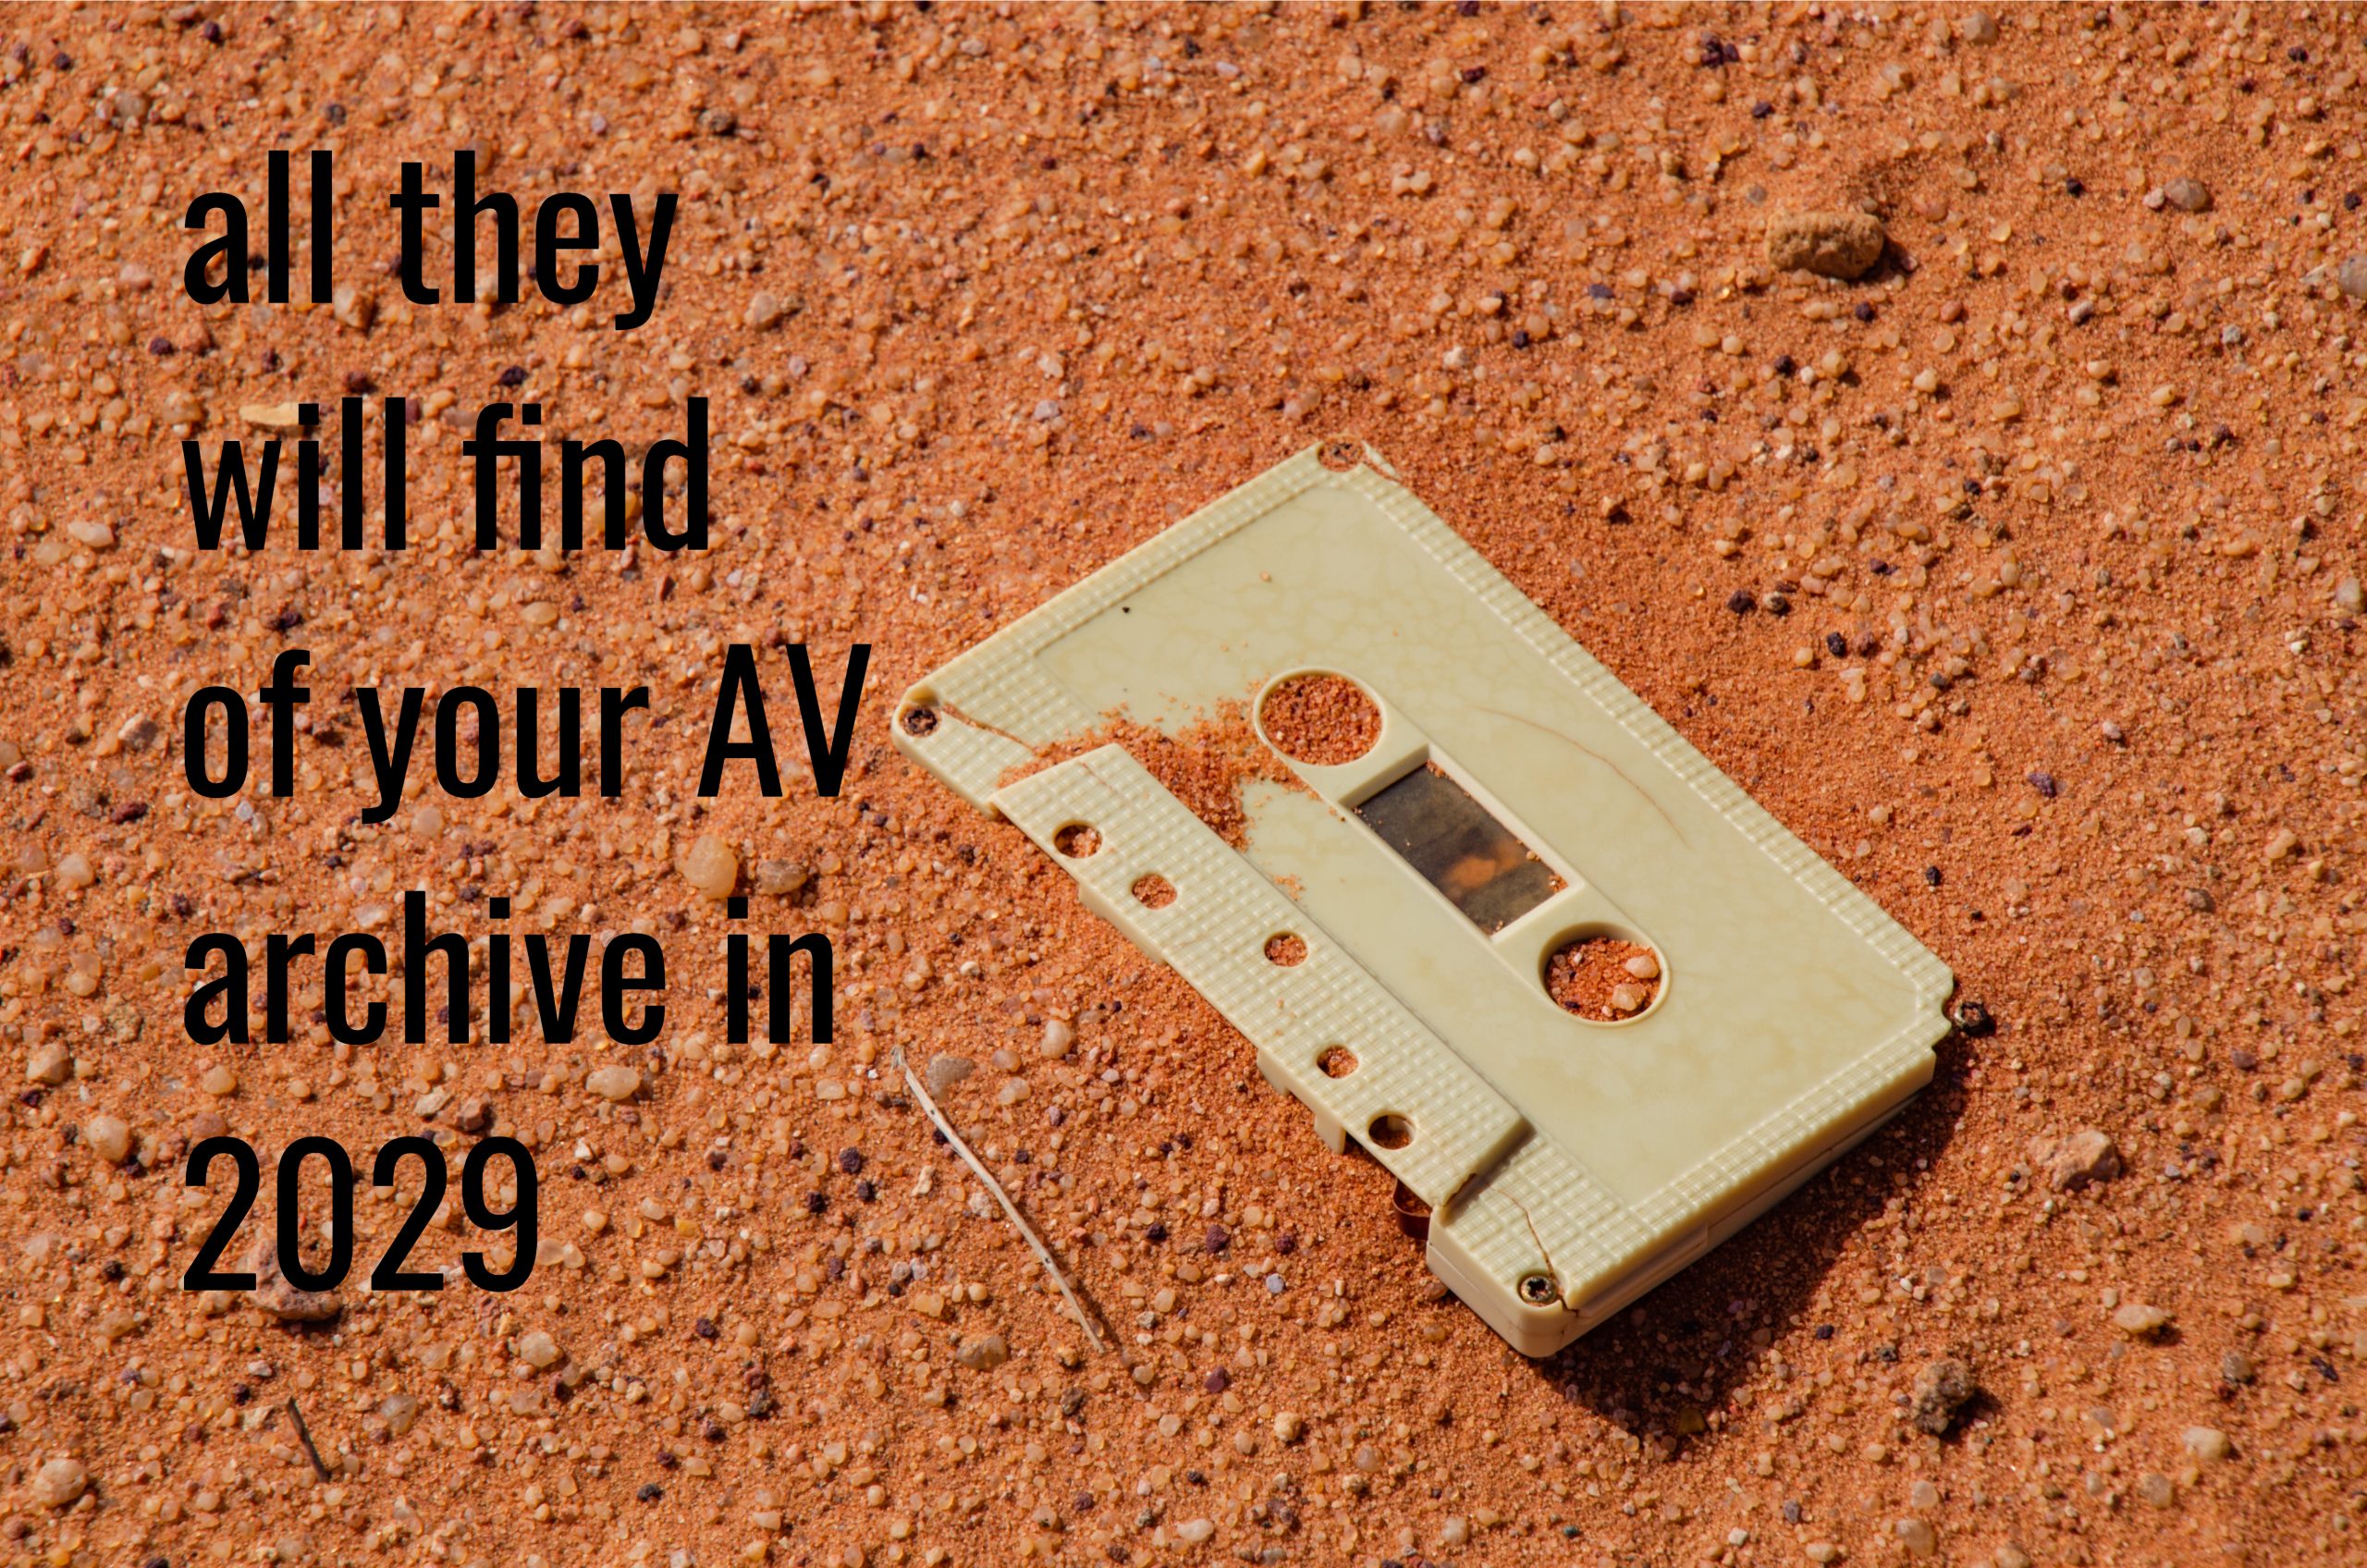
We nailed this one! Done and dooooone.
Step 2: Select and prioritize
Now you know what you have, but you don’t know which items you should preserve. Here’s where you select your top priority items and sketch out a general plan on the order in which you plan to tackle digitization. There are a few ways in which to approach this question, on which I will pontificate in a future blog post. Stay tuned!
Step 3: Assess your digital storage environment
Before you actually begin digitization, it is crucial that you have a storage plan in place. If you’re going to invest in preserving your audiovisual assets, they cannot come back from vendors and sit on a single hard drive for all eternity. 4,672 hard drives die every minute worldwide3 and you cannot risk that happening to your precious content.
Step 4: Fundraise and advocate
This step doesn’t need to be exactly here in the timeline, in fact you should be actively doing this every day. The minute you realize you have physical audiovisual assets in your collections, you should advocate for their preservation. Be clear to your administrators — if the AV content is important to them, they need to budget for their preservation before it’s too late to save them.4 Seek out donors and grants you can go for. Showcase your collections in any way you can!
Step 5: To digitize in-house or to outsource…
…that is the question! It’s not always an easy decision, but you will have to make it. Some organizations do this based solely on the bottom line, answering the question which route is more cost effective. Others make this decision with consideration for both financial and non-financial reasons, such as an interest in building a center of excellence for digitization and preservation, which has value to them and the communities in which they engage. Either way, we suggest doing lots of analysis that will tell you true costs for staffing, hardware, software, supplies, workflows, maintenance, etc. to be able to compare it to outsourcing. And by the way, outsourcing doesn’t mean $0 for these things. See steps 8 and 9 below.
Step 6: Write a statement of work
Whether you choose to digitize in-house or use an outside vendor, you will need to be able to clearly communicate with those who will be digitizing your precious AV. How else will they know what to deliver? You will need to determine target digital format specifications, care and handling requirements, reformatting specifications, delivery protocols, and on and on and on. The thing about AV digitization is that you don’t always know what content is stored on the media or its condition. When digitizing a photograph, you can easily look at the physical object, then look at the digital surrogate, and then decide if the vendor did a good job (yes, it’s more complicated than that, but you get me, right?). You can get back a digitized audio file that sounds like garbage and you’ll have to say, “I guess that’s how it was on the tape, right?” Unfortunately, this disconnect is unavoidable, unless you invest in playback equipment for all of your audiovisual formats. BUT. If you have written a clear statement of work that outlines your requirements and is based on industry standards and accepted practice, you are doing everything you can at this stage to ensure your vendor is capturing the object of preservation to the best of their ability.
Lucky for us, Chris already wrote guides for drafting statements of work for both audio and video. So no waiting!
Step 7: Digitize!
Electronic magic occurs and your physical audiovisual assets are transformed into digital files. Rejoice!
Step 8: Check it
Your vendor or in-house lab delivers your digitized content to you; you’re all set, right? WRONG. You have spent a lot of time and money on preserving this content, you must perform quality control checks on them. Vendors are human, after all, and mistakes can be made in the digitization process. This can take a significant amount of time, so be sure to include a line item in your budget for staff time and the appropriate hardware and software to perform these checks.
Step 9: Ingest
Get those files into your digital storage environment, which could be an actively managed storage environment or a digital preservation system. Is this a new process for you and your team? Document the steps! This will save time and avoid issues the next time you do this. Now that you’re a pro at preserving your AV you’ll be doing a lot more of it!
Please add your comments and questions in the section below!
1 JKJKJKJKJK you’re going to be trying REALLY HARD.
2 I see you, put your hand down.
3 Maybe I made this up, but hard drive death is real!
4 Your institution has already invested significant resources in preserving the physical audiovisual assets in your collections. Check out our nifty tool, the Cost of Inaction Calculator, for information you can use to highlight what investment would be forfeited should this valuable content be lost to obsolescence and degradation.